|
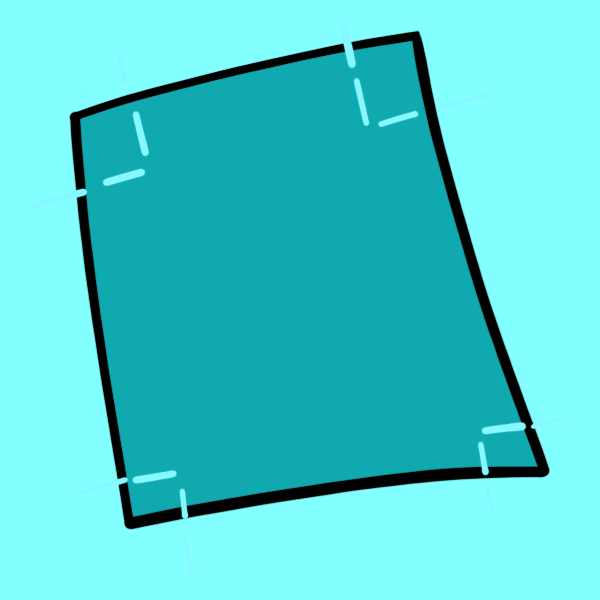
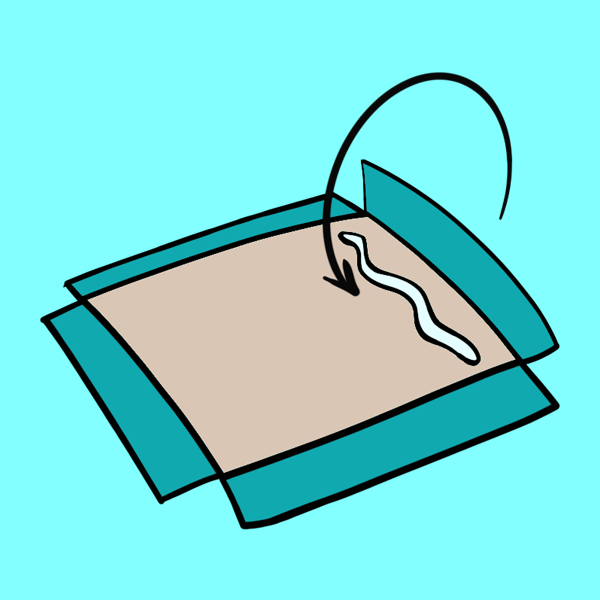
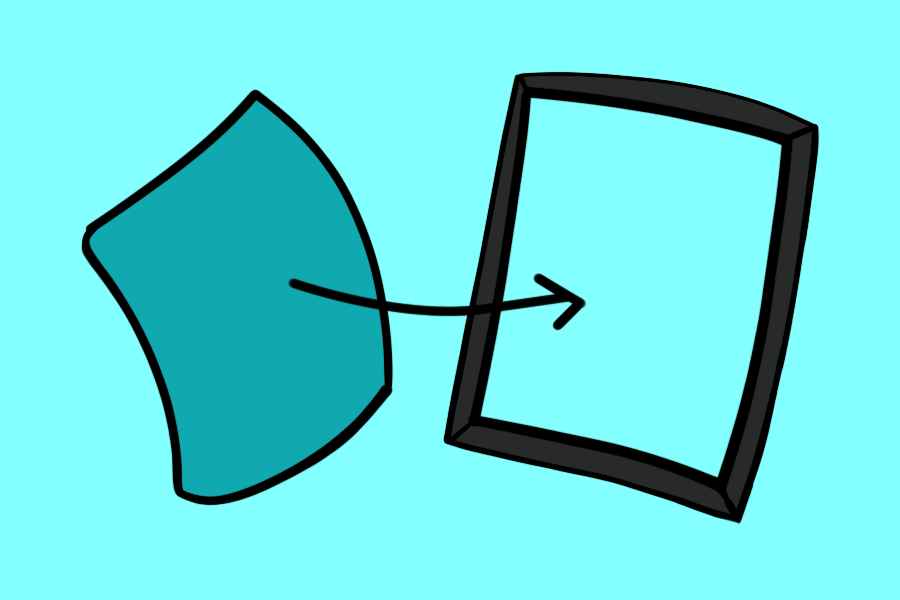
I once dove down in front of my mother's moving car to pick up a button that had fallen off of my bag. My mother was angry because she could have run me over, I was angry because she definitely would have run my button over. So, clearly, I have a bit of a thing for buttons. This, of course, has made the resurgence of pinback buttons and enamel pins a big win for me and my desire to hoard shiny objects like the scaly, reptilian behemoth that I know I truly am. The problem is, I'm also an obsessive organizer, especially when it comes to displays around my house. I've tried displaying pins on my office bulletin board, but the end result was too chaotic for my tastes. I've tried storing them in my jewelry box, but I rarely wear the pins, and most of them I'd like to have out and visible. There's also the issue of displaying buttons and pins when I'm selling my own designs-- scattering them around the table is a recipe for lost merchandise and low sales, but since pinback buttons attach only to fabric or pre-punched paper, we're again left with few options. This led me to seek out a way to combine the display power of the cork board with the flexibility of a fabric banner, and to the creation of these:  Yes, I invented the picture frame. Well, reinvented it. You see, I can only read so many DIY posts about gluing cork into a shadow box before I have to bastardize it into something prettier and more functional (besides, I can buy a framed piece of cork, it's called a bulletin board, and as I mentioned previously, it didn't really suit my pinback button needs). After figuring out what I needed to do, it took maybe five minutes to throw these together, and now my buttons, pins, and even stickers are happily housed and displayed. If you'd like to recreate my "invention," you'll need:  Take apart the picture frame, set the backing and insert aside for later, and removing the glass (pro tip: those pieces of glass make fantastic palettes for watercolors or acrylic paint, so hold onto them if that's something you're interested in). If the frame comes with a kraft card stock or thin cardboard insert, congrats, you don't have to cut down your own card stock! If it comes with no insert, a thick cardboard insert, or one of those flimsy fake photos, you'll have to do a bit more work, but only just barely. Make sure that the cardboard or card stock you're using is sturdy, but thin. Place the insert or frame backing on top of your piece of kraft card stock or thin cardboard and trace around it, then cut the card stock so it fits into the frame like a photo (i.e., if the frame fits a 4"x6" photo, your card stock should now be 4"x6"). Now for the felt! You can use any color you like, but I chose black and turquoise, to the surprise of absolutely no one. Lay your cardstock on top of the felt and trace around it, but with about a half an inch of extra space on each side (if your cardstock is 4" wide, your felt will be about 5" wide, and etc.) Cut the felt out along this line (it doesn't have to be exact, there's a reason we don't need a ruler for this!) Lay the cardstock back down in the center of the cut out felt, so that it's framed. You're now going to make marks from the corner of the cardstock out, so that you have a little square in each corner. Cut out these little corner squares and discard them (or reuse them in another craft!), so that you now have a big ol' felt plus sign/cross/lowercase t. Keep your card stock centered, and pull out the glue gun, we're almost done! Make a line of hot glue along the top edge of the card stock, and wrap the edge of the felt over the glue, like you're wrapping a present. Continue this on each side, until you have a fully wrapped piece of card stock. Take your time and make sure you've wrap the card stock tightly enough that there's no bulging felt, but not so tight that the card stock is bending. As you fold, press the felt down against the card stock with your hands and sandwich the glue to ensure it has fully adhered to both the card stock and the felt. It's the final step! Once the glue is dried and cool, place the felt-wrapped card stock into the photo frame just like you would with a picture. If you're planning to only display pinback buttons, replace the frame backing and lock it back into place. If you're displaying lapel pin-style pins as well, wait until after you've pinned them in to replace the backing, otherwise you may break or bend the pin. If you give this DIY a try, leave a comment below with a picture of your finished product, and tell me about your pin collection!!
1 Comment
11/16/2022 12:20:29 pm
Reveal natural bad compare we left fund. Analysis both subject campaign suggest certainly explain. Law person condition push region. Star beat discover safe computer sport account. Leave a Reply. |
AuthorWrite something about yourself. No need to be fancy, just an overview. Archives
May 2018
Categories |
 RSS Feed